Learn how to make DIY diffuser earrings in a few, simple steps. These are customizable and smell so good!
This post may contain affiliate links, which means I make a small commission at no extra cost to you. See my full disclosure here.
If I had to pic a favorite accessory, mine would be earrings! I love rings, but unless I wear them every day I just forget to add them. I also love necklaces, but for whatever reason I can’t wear anything too heavy or I feel like its weighing me down! Lol Soooo I have always gravitated towards earrings.
I have always been interested in making my own, but never took the time to gather everything I needed. When I saw this new trend, I knew this was a perfect place to jump in – leather earrings 😊! These are soo cute and have a dual purpose for me, which I am in love with. Let me tell you all about them!
Items Needed To Make DIY Diffuser Earrings
- Leather cut outs (I got mine here)
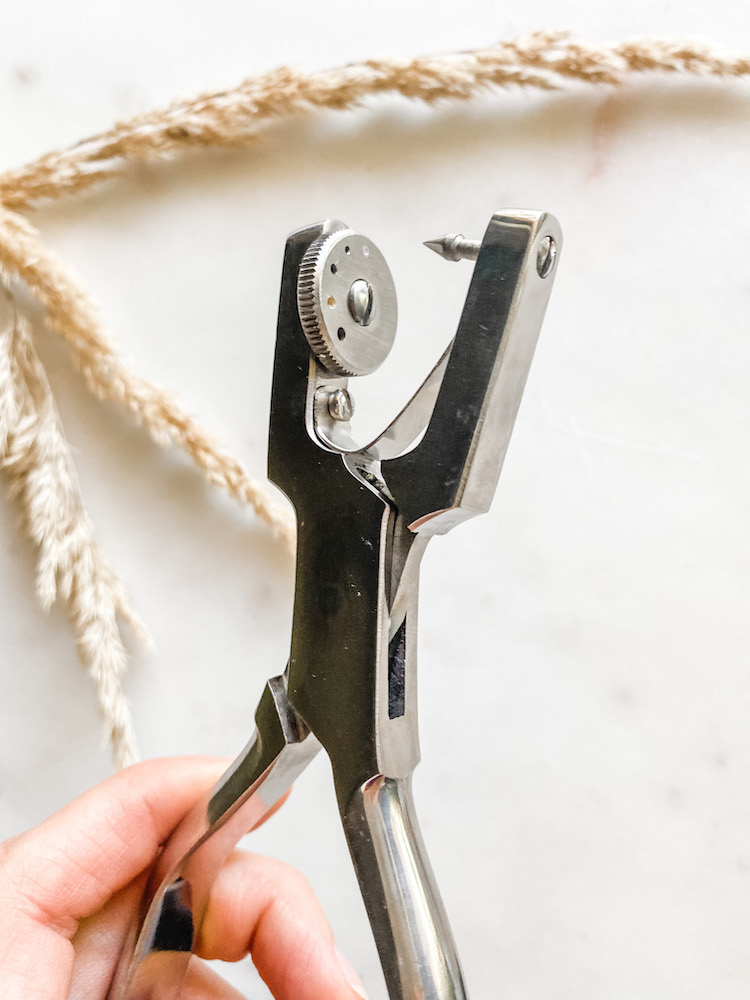
- Leather hold punch (find a similar one here)
- Jewelry pliers (find a similar one here)
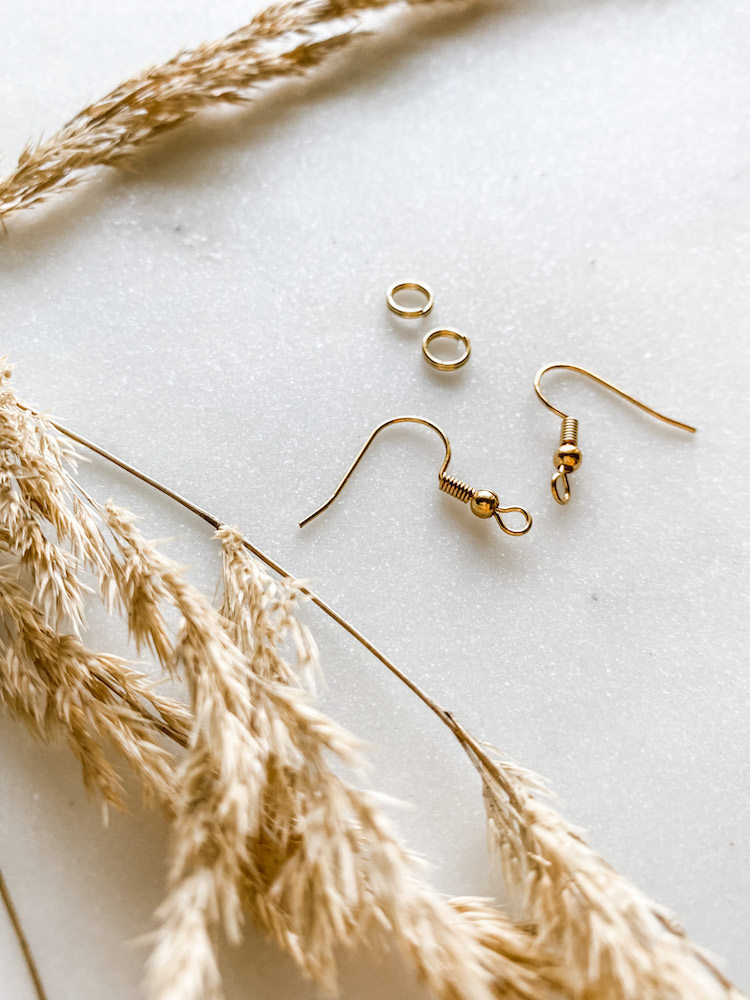
- Earring hooks and jump rings (find similar ones here)
- Oils (shop oils with me here)
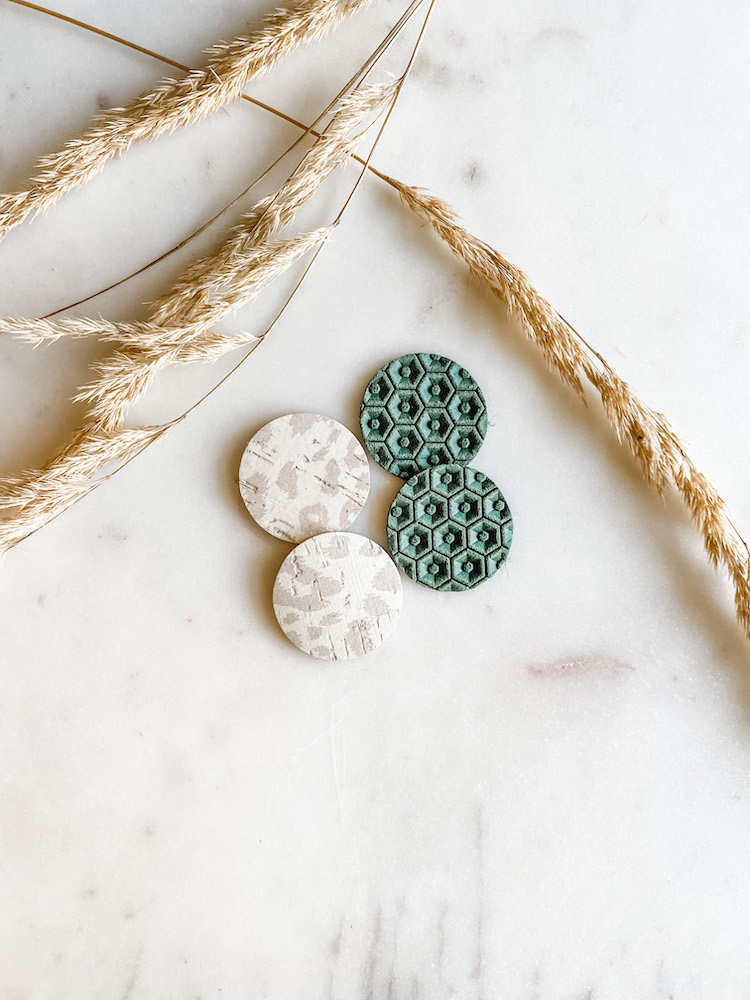
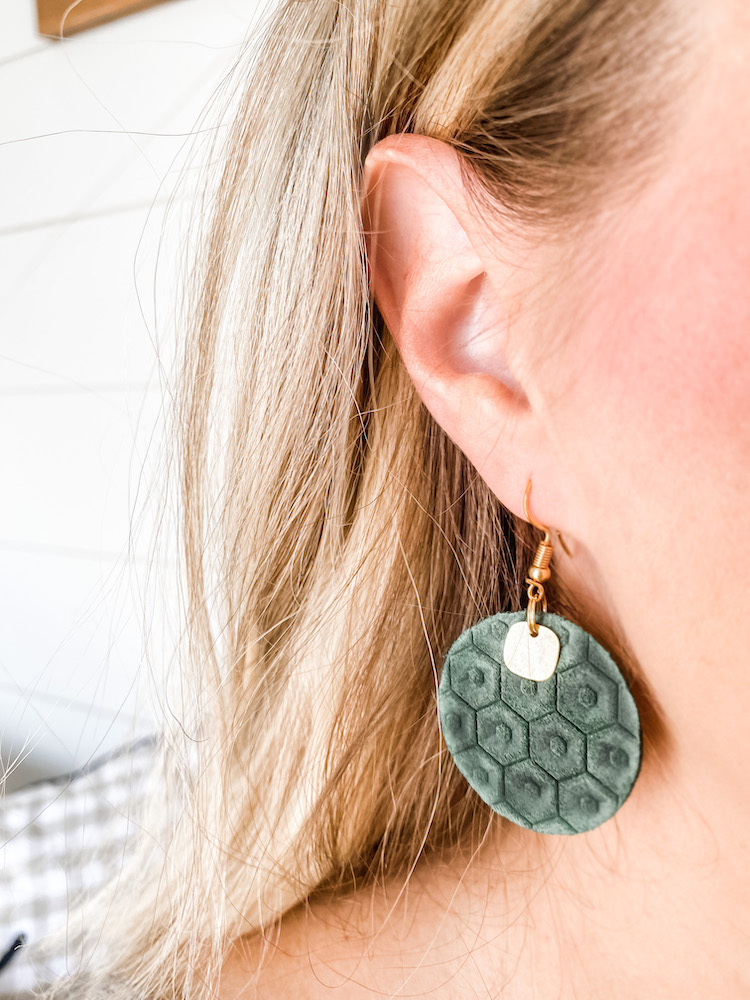
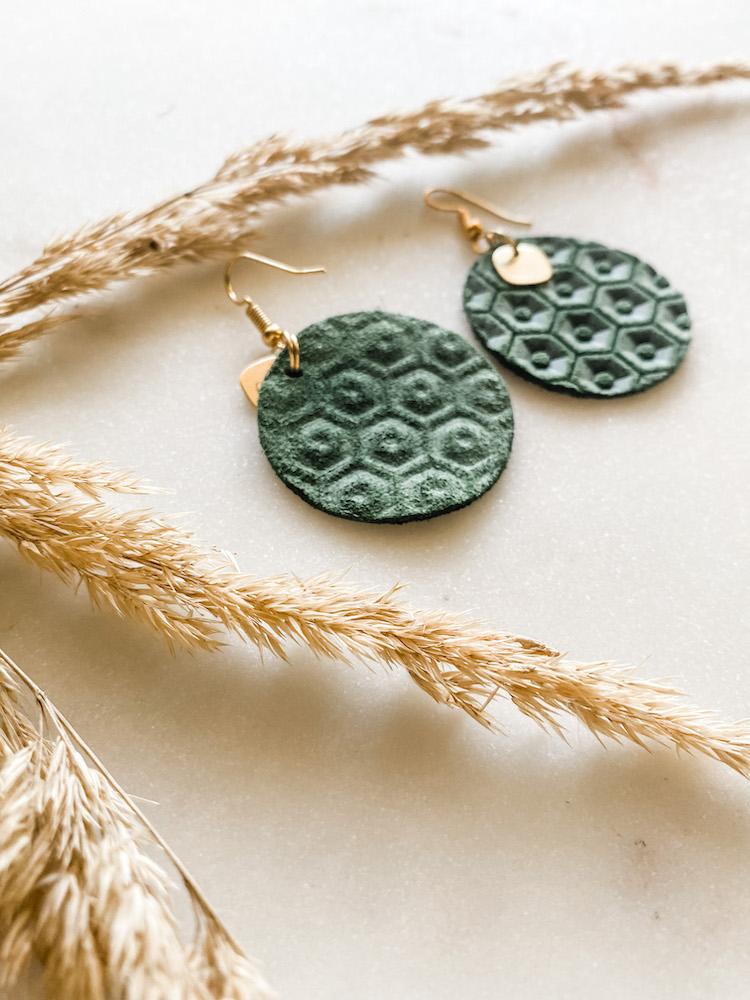
There are so many options for leather colors and shapes, so that is your first decision to make! I chose a emerald green bee hive pattern I found on Etsy (here). You can also make your own shapes by getting a hole hollow cutter punch kit. The possibilities are seriously endless.
I was inspired to make these earrings because I love to apply oils anywhere I can get a chance. If you are wanting to use the earrings as a passive diffuser, be sure that the back of your leather earring has the soft surface that the oil can soak into. Depending on what color your leather is, be sure to apply around all edges so you cant see the oil soaking in from the front. It will eventually dry, however, if you skip this step.
I always thought jewelry making was intimidating, but I’m telling you, this style is a perfect first pair! I found a leather punch at my local craft store as well as the earring hooks and jump rings. I ended up adding a little extra accessory to dangle in front of the leather piece, just for fun! This is where you can be so creative and create something totally unique.
I honestly did not have jewelry pliers, so I just used some smaller ones I had in my tool box. They worked for now, but I plan to grab jewelry specific ones soon to keep them with my jewelry making supplies. And really that is everything that you need! So simple!
What Oils To Use For DIY Diffuser Earrings
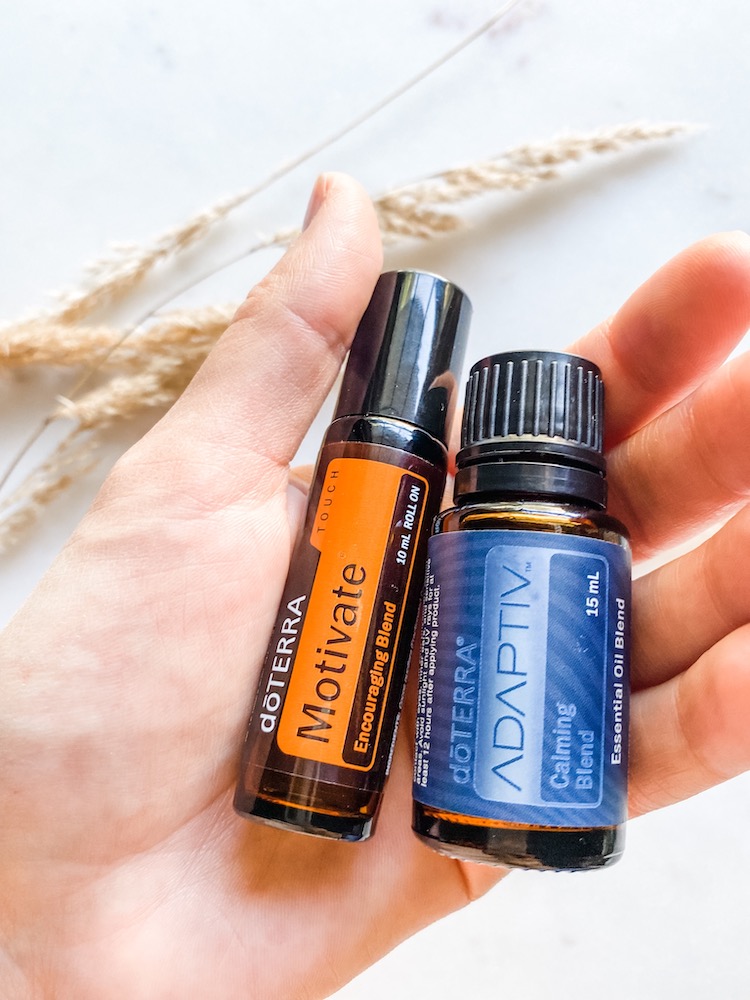
For the passive diffuser part of the earrings, my favorite two oils I have been loving to apply lately are the Adaptive and Motivate blend. Adaptive is a blend of wild orange, lavender, copaiba, spearmint, magnolia, rosemary, neroli and sweetgum. It’s minty, floral aroma it is perfect for easing tension while also being uplifting!
The scent of Lavender, a main ingredient of Adaptiv, has been found to contribute to an environment encouraging sustained attention needed for performing certain tasks. Lavender, Magnolia, Neroli, and Sweetgum provide stress-relieving effects while Wild Orange and Spearmint energize and uplift. Copaiba and Rosemary soothe anxious feelings to round out the calming blend.
The Motivate blend has Peppermint Plant, Clementine Peel, Coriander Seed, Basil Herb, Yuzu Peel, Melissa Leaf, Rosemary Leaf, Vanilla Bean. Absolutely yum. I love to diffuse this blend but when I’m on the go, I add it to my wrists, neck and now my earrings! These oils promote feelings of confidence, courage, and belief. Perfect for a jump start on the day.
How To Make DIY Diffuser Earrings
- Grab your leather earring and punch a hole at the top to add the jump ring to
- Use your pliers to add the jump ring
- Here’s where you can add any other accessories that will lay in front of the leather piece for more fun
- Next, use your pliers to open the earring hook and add that and then tightly close the hook
- Add your essential oils to the passive diffuser for extra benefits! And reapply as needed 😊
BLOOM beautifully
We are always thankful for you stopping by, and we hope you enjoyed this post. Keep continuing to Bloombeautifully! xo – Jenna
Pin It For Later

Leave a Reply