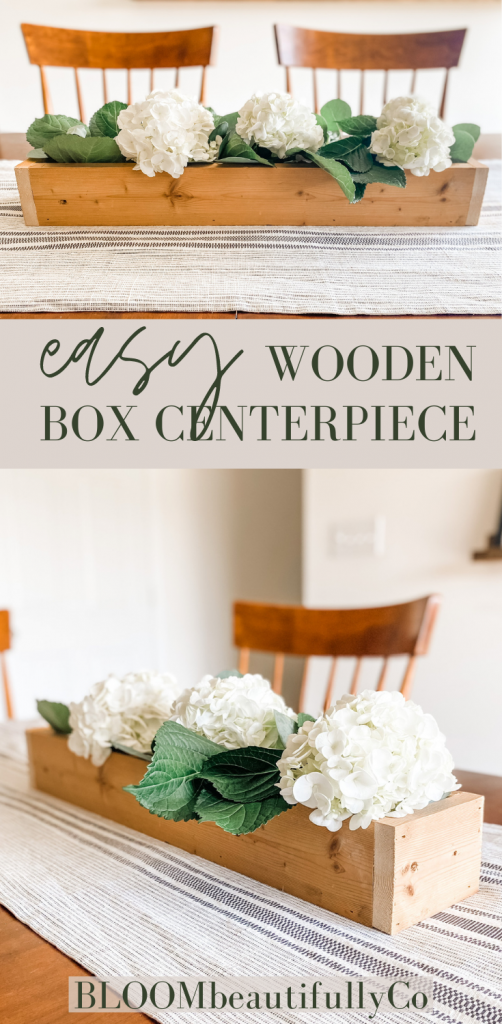
This easy wooden box centerpiece how to is inexpensive and can be a quick project. With this, you can easily swap out seasonal changes, too!
I knew I wanted something simple and easy for the center of our dining table, and I liked the idea of being able to change out seasonal decor with it. However, when I went to see how much wooden box centerpieces at the store were, my brain got to thinking.
I could easily use 5 pieces of wood for this. I already had 1x’s in my garage and a saw and nail gun available since we were working on finishing our basement. (Don’t worry if you don’t have these available! There is a solution!)
TOOLS NEEDED TO CREATE A WOOD BOX CENTERPIECE
- 1×4 (to make a 4 ft box, you will need a total length of 82″ (almost 7ft))
- Measuring Tape (if you are cutting the wood yourself yourself)
- Wood Saw (if you don’t have this, the hardware store can normally cut pieces for you)
- Hot Glue (optional)
- Nail Gun (if you don’t have this, you can use hot glue to secure and hold in place, and then a hammer and nails to secure it more if needed)
- Wood Stain and rag (optional)
WHAT TYPE OF WOOD IS NEEDED
This is totally up to you. Like I said, I had 1×4’s that were actually removed from somewhere prior. They had nail holes, and were a little beat up, but I liked the character.
You could use barn wood, or anything from the hardware store. You just want to make sure that the 4 sides are all the same height. The base could be a different width if needed.
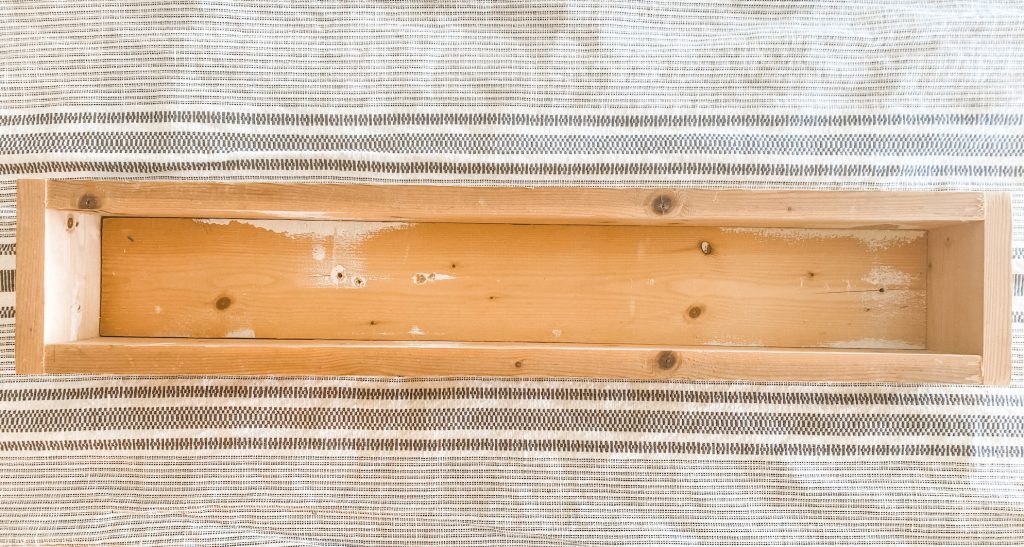
HOW TO BUILD A WOODEN BOX CENTERPIECE
I am going to use the measurements I used for my project, but know that you can adjust the measurements if needed. You can always make your box longer, or wider. Remember though that the width of your base piece will have to be how wide your box is.
First, cut your wood to the following lengths:
- (3) 24″ pieces
- (2) 5″ pieces
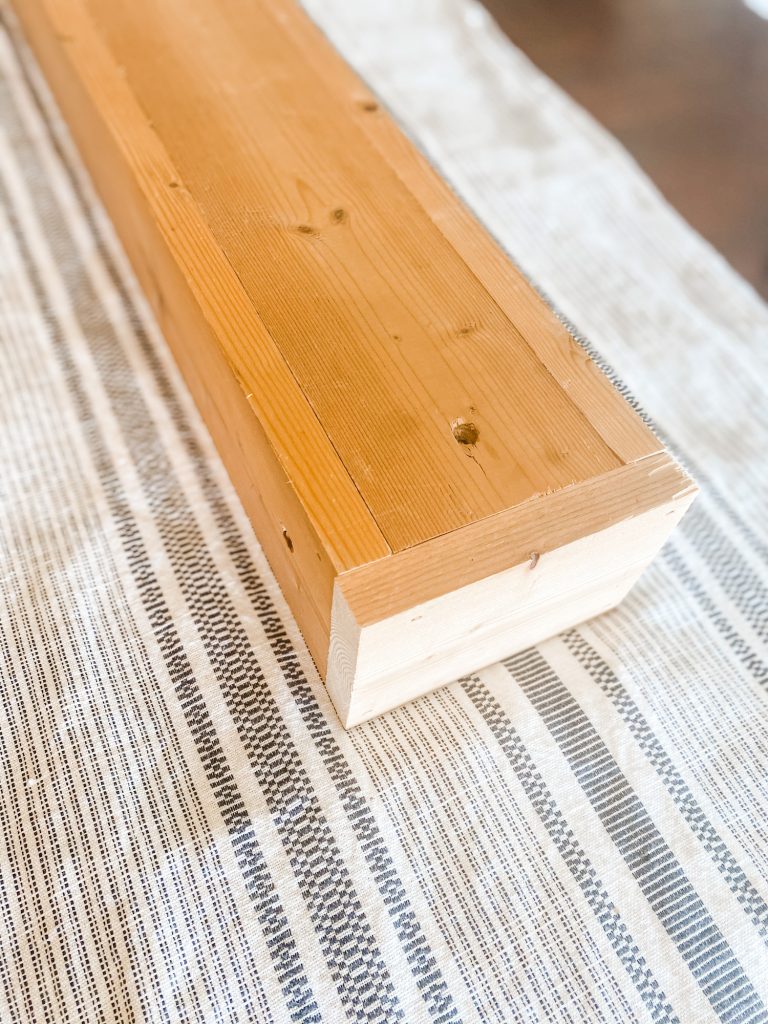
I left my wood raw, but if you are going to stain your box, the best time to do it is now. You could wait until the end, but doing it now will ensure all the crevices are stained well.
Let your wood dry before moving to the next step.
Once dried, grab (2) of the the 24″ pieces of wood and hot glue their long edges together.
Take your nail gun, and secure wood pieces.
Repeat previous step with rest of the other long side and finally the two 5″ pieces, making sure they are all secured to the 1″ side of the base piece.
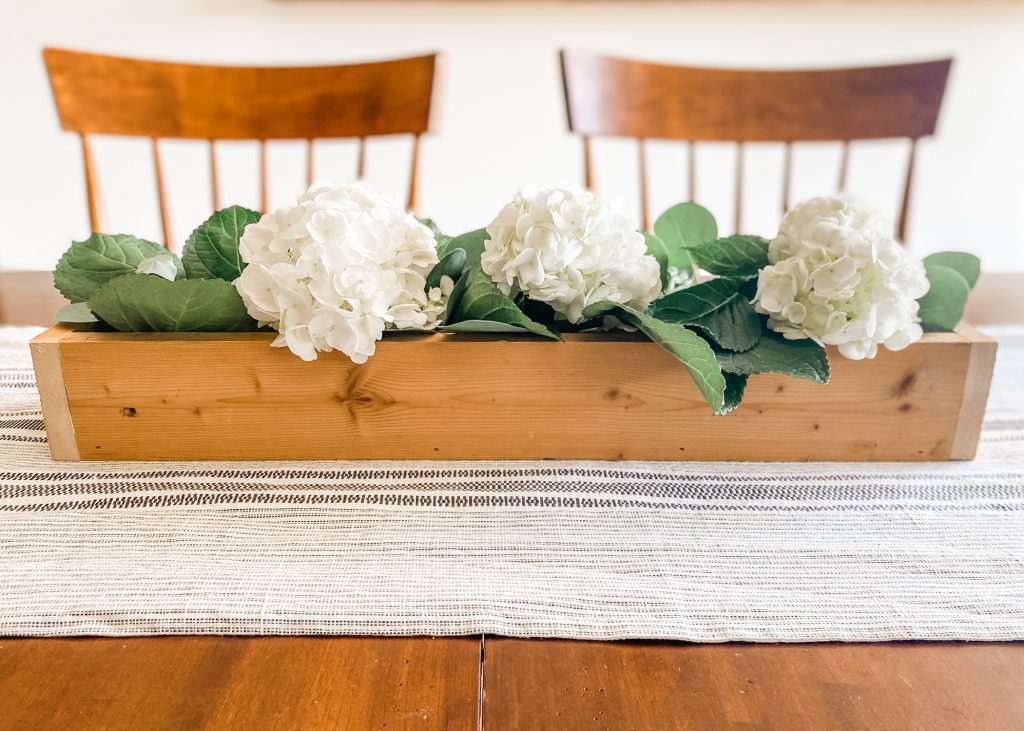
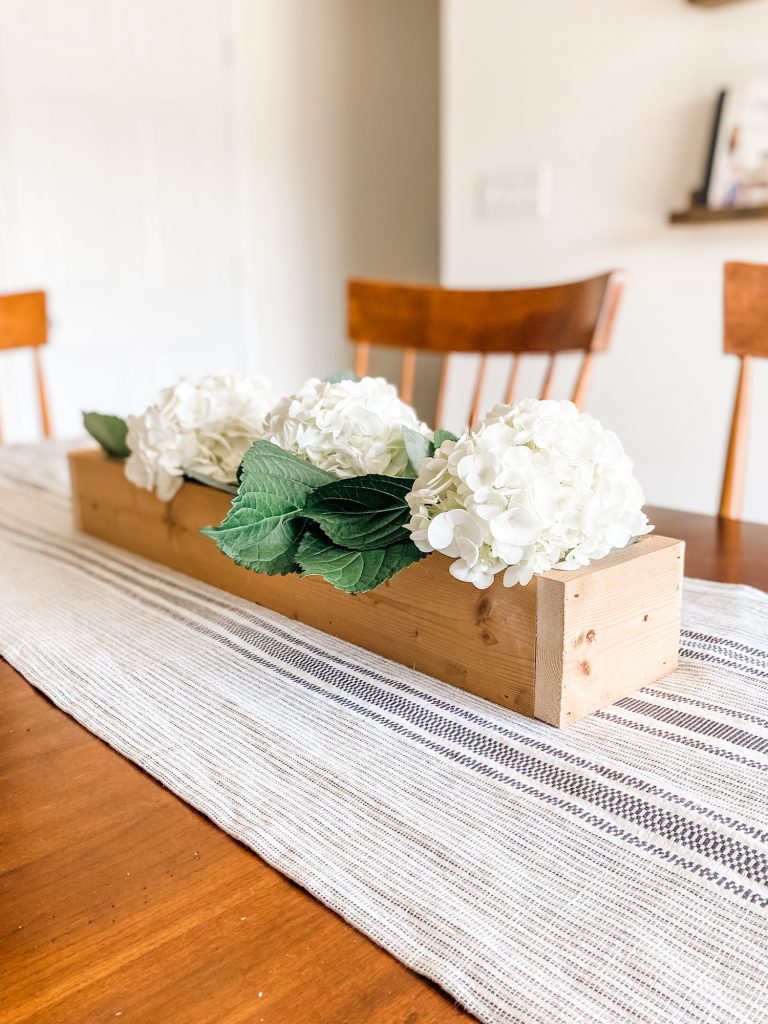
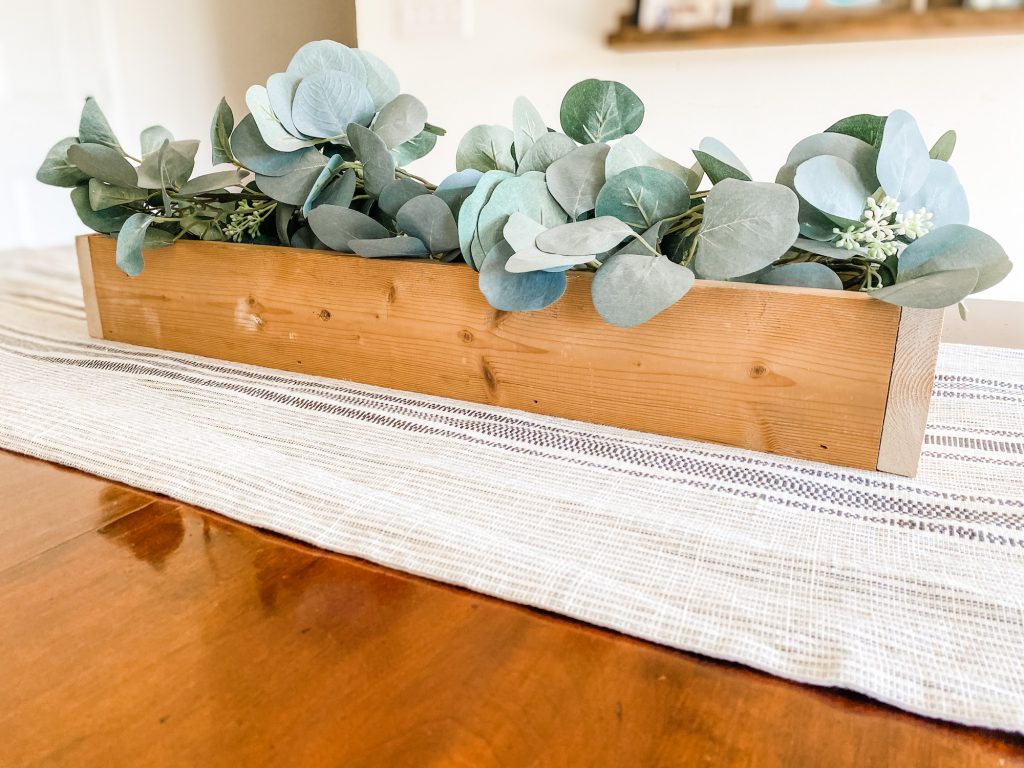
From there, add to your table and fill with any decor items!
WHAT DECOR ITEMS GO IN A WOODEN BOX CENTERPIECE
The possibilities are endless. My easy go to is filling it will a faux eucalyptus garland. Then, I can add in holiday items, or go with something completely different.
During winter, you can add in pine garland, and Christmas decor. For spring, I love adding fresh flowers.
There are so many different ideas you can do!
Check out my sister, Jenna’s recent spring project for another idea for your box here. She used dried foam on the inside to secure her pieces.
NEED MORE DECOR INSPO?
Check out our LIVEbeautifully category for more home decor posts here.
PIN IT FOR LATER
Leave a Reply