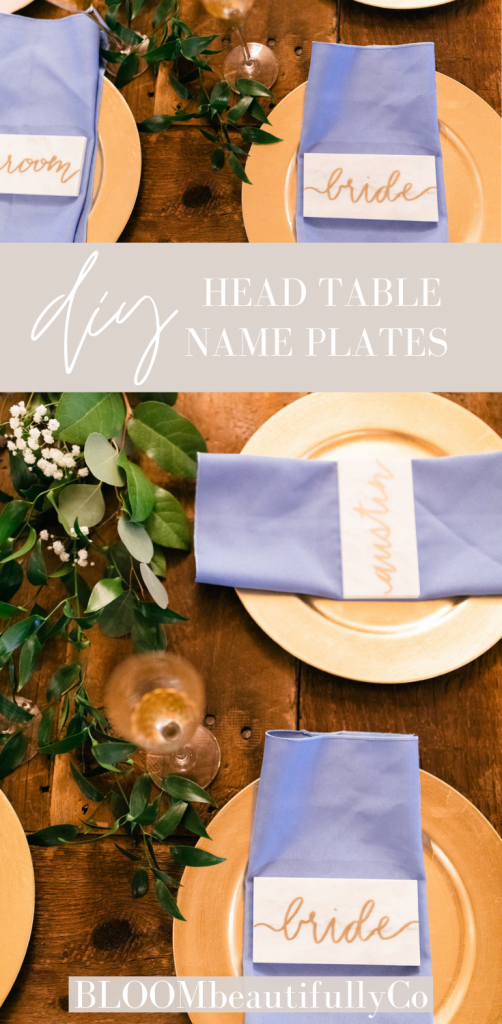
Easy personalized head table name plates that anyone who can write can do! These are elegant and totally customizable.
This post may contain affiliate links, which means I may make a small commission at no extra cost to you. See my full disclosure here.
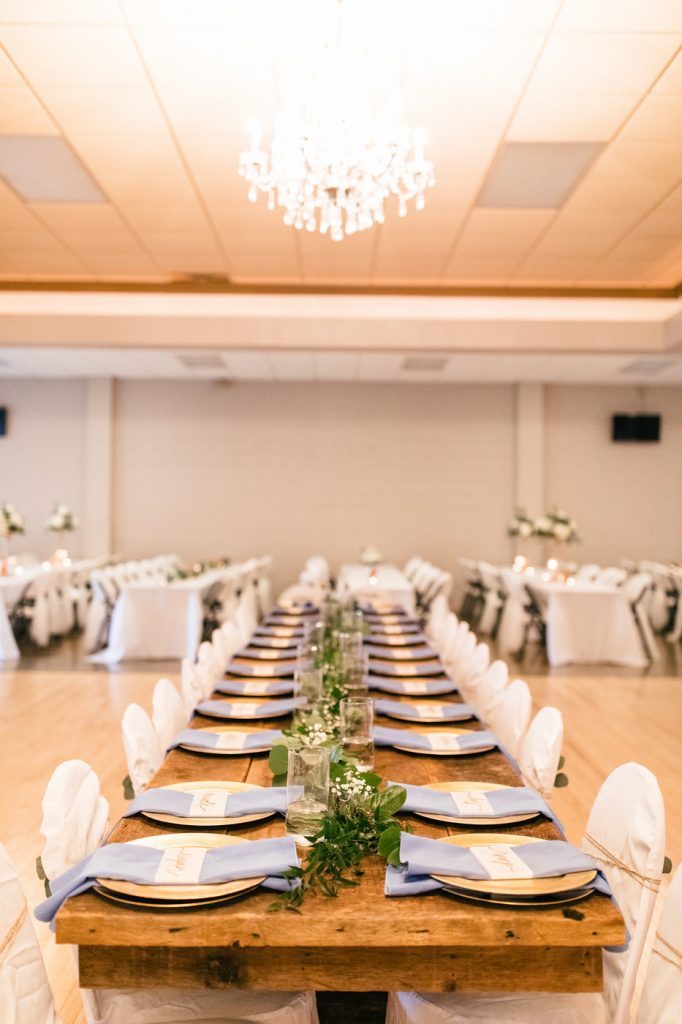
My husband and I got married in 2019, and we had a decent size wedding party. I think including us, we had 26. With that many, I definitely wanted to have some sort of name cards at the head table.
Even with a small group, it is still nice to have names at each space. Then, there is no confusion! Plus, it makes it a little fancier 🙂
I worked at a tile shop while I was starting to plan, so with all the tile in front of my face, I knew a small piece of tile or large mosaic would be elegant and also, unique.

WHAT TYPE OF TILE CAN BE USED TO MAKE TABLE NAME PLATES?
You can really get creative here because you don’t have to worry about damage. These are just being used for decor, so no need to really worry about durability.
Your main concern will be to get a smooth surface. This way, you can easily write on them.
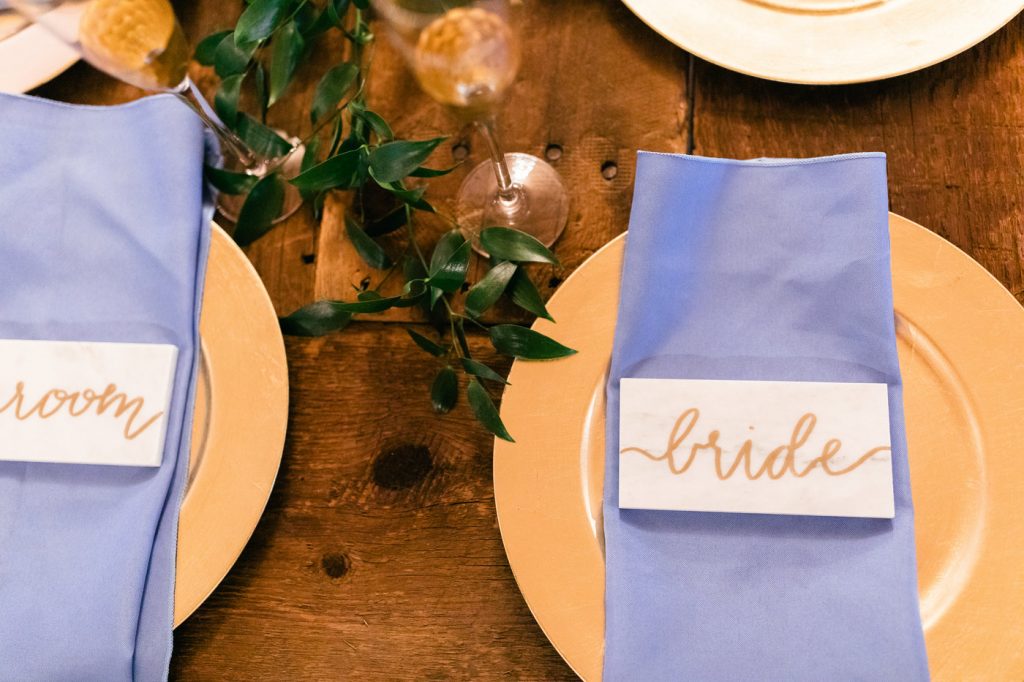
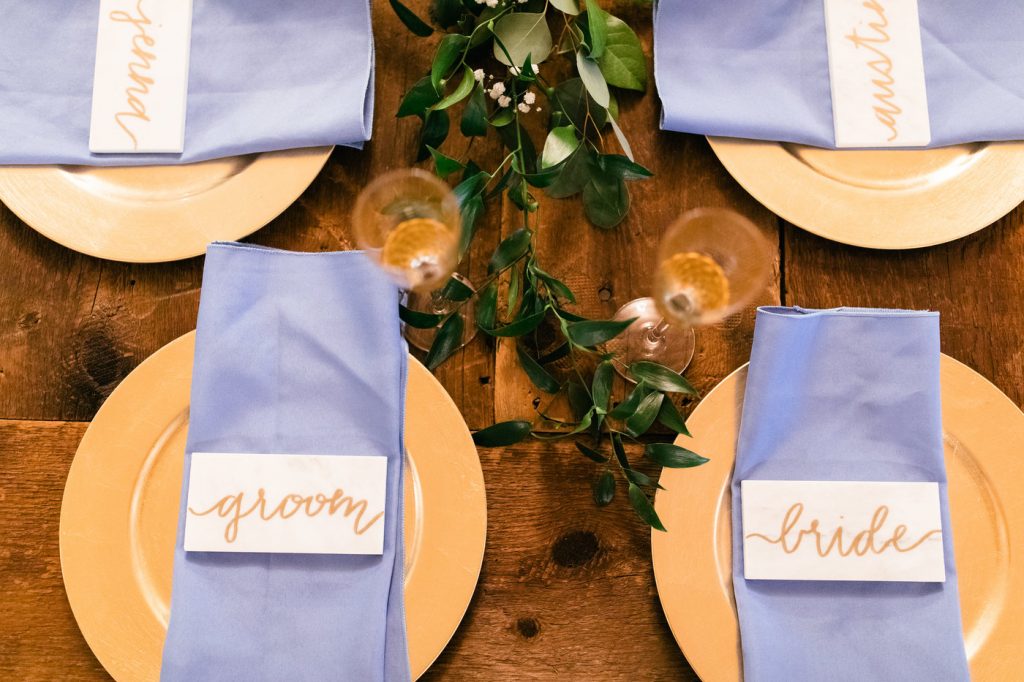
I ended up using 3×6 smooth marble tiles, so they were super easy to write on.
WHAT TYPE OF MARKER SHOULD BE USE?
Use something that will be permanent and won’t smudge. A sharpie marker or paint marker should work well. I went with a gold sharpie marker, myself.
If you end up making a mistake, you can try to dip a cotton swab or q tip in rubbing alcohol and see if it comes off. You should have decent success with that.
TIPS FOR WRITING ON HEAD TABLE NAME PLATES
Often times, I will get on the computer and type out the words I am looking to write. Then, I will select different fonts until I find one I like and that I feel I can mimic.
If you have the time, you can first write the name with a pencil and then marker over it. That way, it is easier to adjust or cover any mistakes.
Also, although these can be done at the last minute, I do not recommend it. These were pretty much the last decor piece I had to write on. My hands were a little shaky from being tired, and it wasn’t the best work. However, even with that, I still think they gave the perfect touch to the head table.
BLOOM beautifully
We are always thankful for you stopping by, and we hope you enjoyed this post. Keep continuing to Bloombeautifully!
PIN IT FOR LATER
These are beautiful! Great tips! Thank you for sharing!
Thank you so much!!