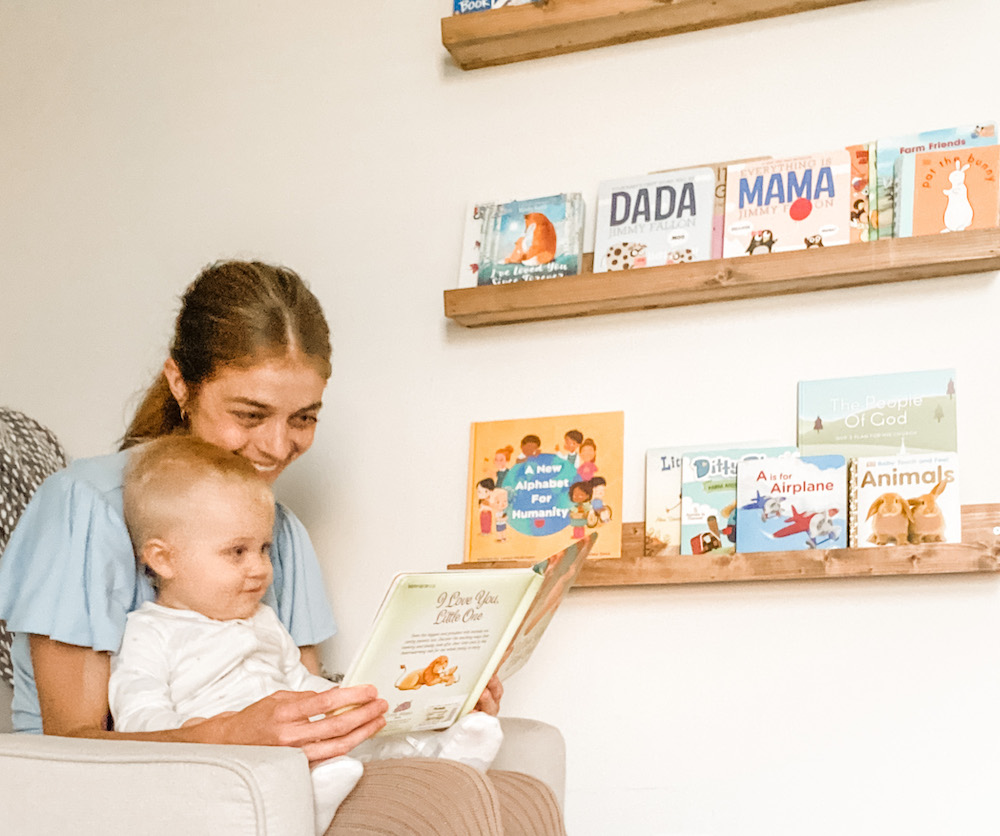
These easy DIY floating bookshelves are not only functional, but can also bring a pop of color for your nursery. The books are visible, and easy for your little one to pick the book they want to read.
This post may contain affiliate links, which means I make a small commission at no extra cost to you. See my full disclosure here.

I actually first made these style shelves in my kitchen, and I knew I wanted them for my son’s nursery. His room is basically just a rustic theme. I wanted neutral colors for the decor because I knew his toys and books would bring enough color to his room.
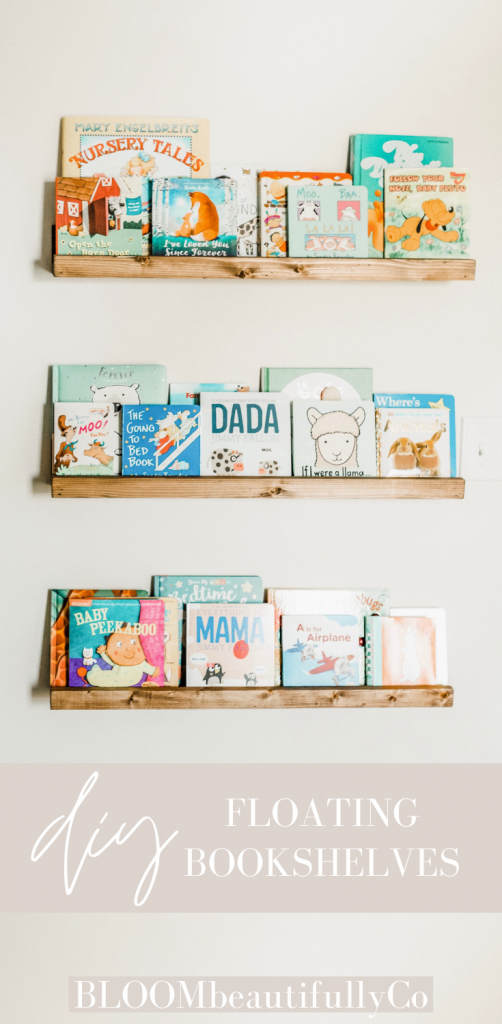
We made our shelves 3 ft each. However, we could have made them bigger with the amount of books we received from showers! For now, we just leave the more advanced books off the shelves.
It is so fun to see how our son interacts more and more with the books. He started to just stare at all the books, and now he is climbing over trying to reach for the book he wants. I love having the books out for him to see.

ITEMS NEEDED TO MAKE FLOATING BOOKSHELVES
I will provide measurements and quantities needed for 1 shelf
- 1×2 piece of wood
- 1×3 piece of wood
- 1×4 piece of wood
- nails and nail gun
- wood stain
- old rag
To hang the shelves you will need:
- screws
- drill
- stud finder

HOW TO MAKE FLOATING BOOKSHELVES FOR NURSERY
First, cut each wood piece to the desired length. If you don’t have a saw, a hardware store can normally do this for you. I chose to cut mine to 3ft.
Once cut, stain or paint your wood pieces, and make sure to get the edges. (You don’t really need to stain/paint one side of the 1×4 since that will be against the wall.)
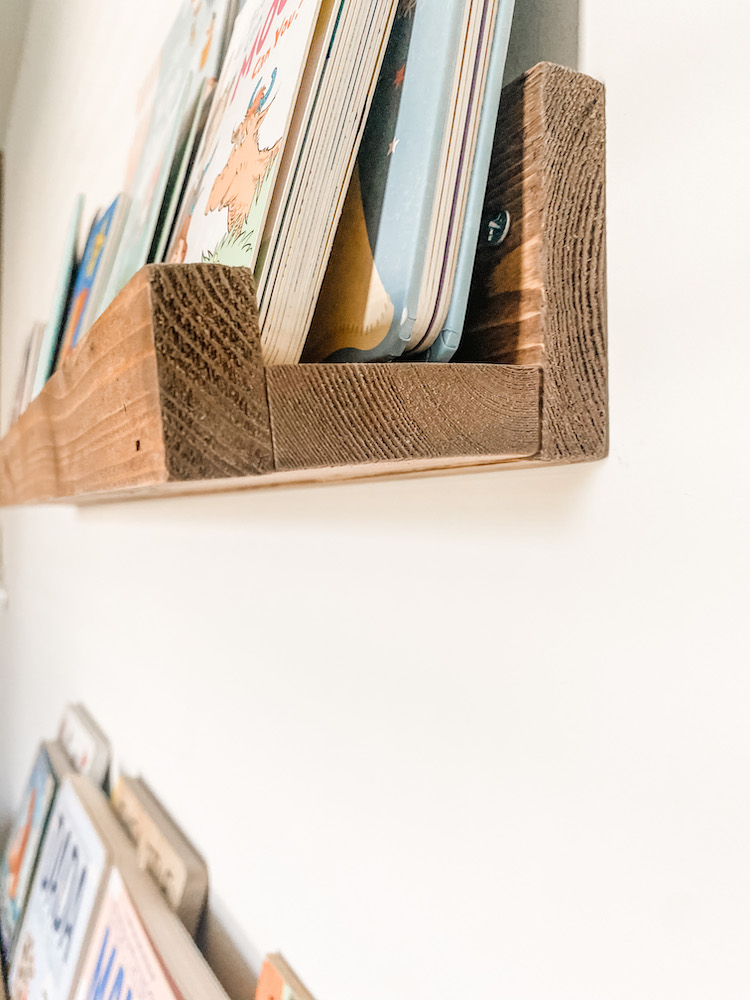
After everything is dry, grab the 1×3 and the 1×2. Secure them together with a nail gun, making sure the 1×2 is covering the edge of the 1×3. This way, no edges will appear from the front of the shelf.
Now take the 1×4, and do the same with the other side of the 1×3.
Viola! You have a shelf!
From there, take your stud finder to find the studs in your wall (obviously) and screw shelf into place.
Add those books and read away 🙂
WHAT TYPE OF WOOD FOR FLOATING BOOKSHELVES?
I just suggest using solid wood for the shelves. I used pine because it was cost effective and I knew it wasn’t being used for a piece that could easily be dinged up.
BLOOM beautifully
We are always thankful for you stopping by, and we hope you enjoyed this post. Keep continuing to Bloombeautifully!
PIN THIS IDEA FOR LATER
MORE ON THE NURSERY…
–Paint a dresser with chalk paint
What color stain is this?
Hi Lindsey, the stain is special walnut.