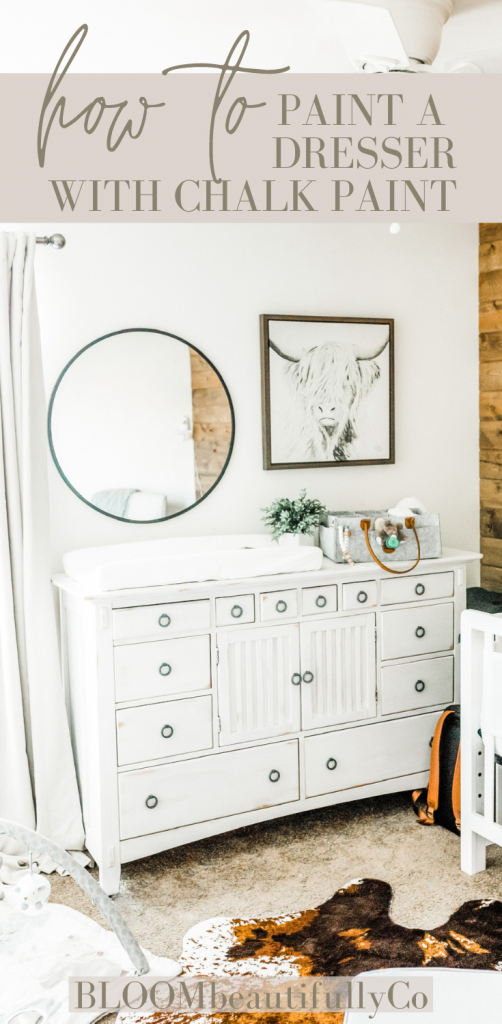
Learn how to paint a dresser with chalk paint in this post. Chalk paint is easy to use and is a favorite of mine to repurpose furniture!

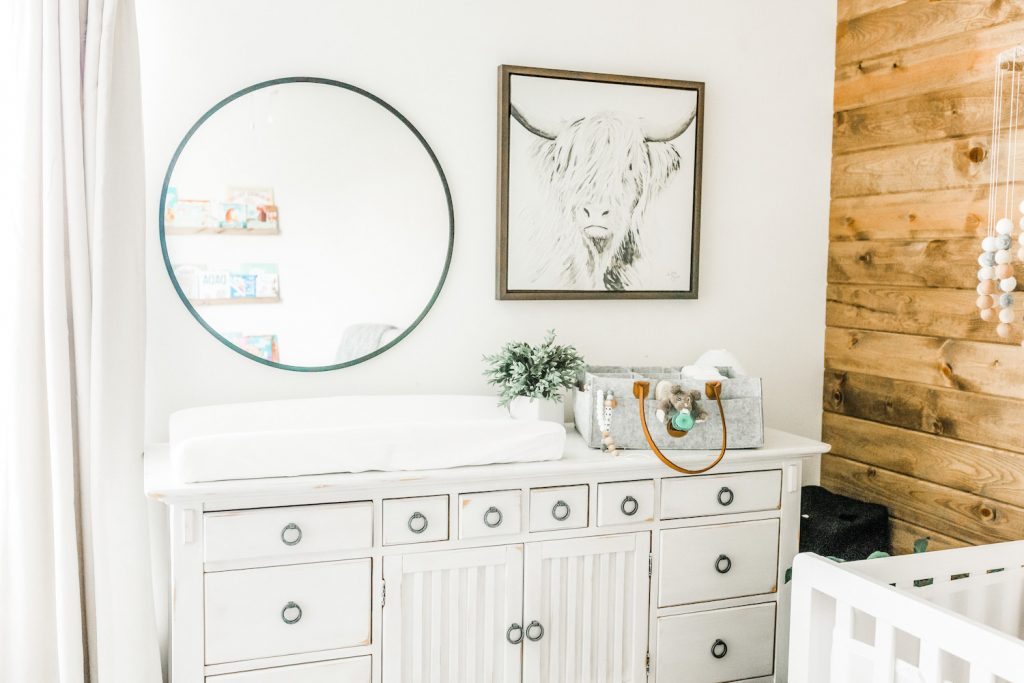
When I was originally picturing the nursery for our first baby, I pictured it bright; but I wanted warm, worn-in touches to make it feel cozy.
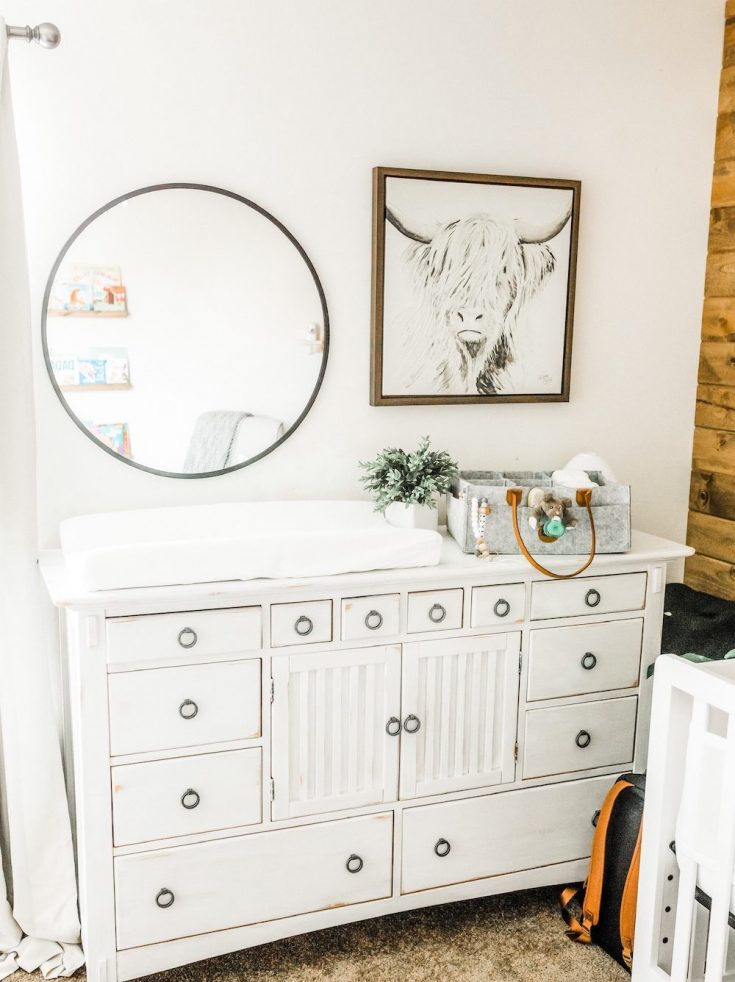
With a dresser taking up a lot of space, I knew it needed to be white to keep this feel. Giving it a little bit of a distressed look would help give it the worn-in feel, too.
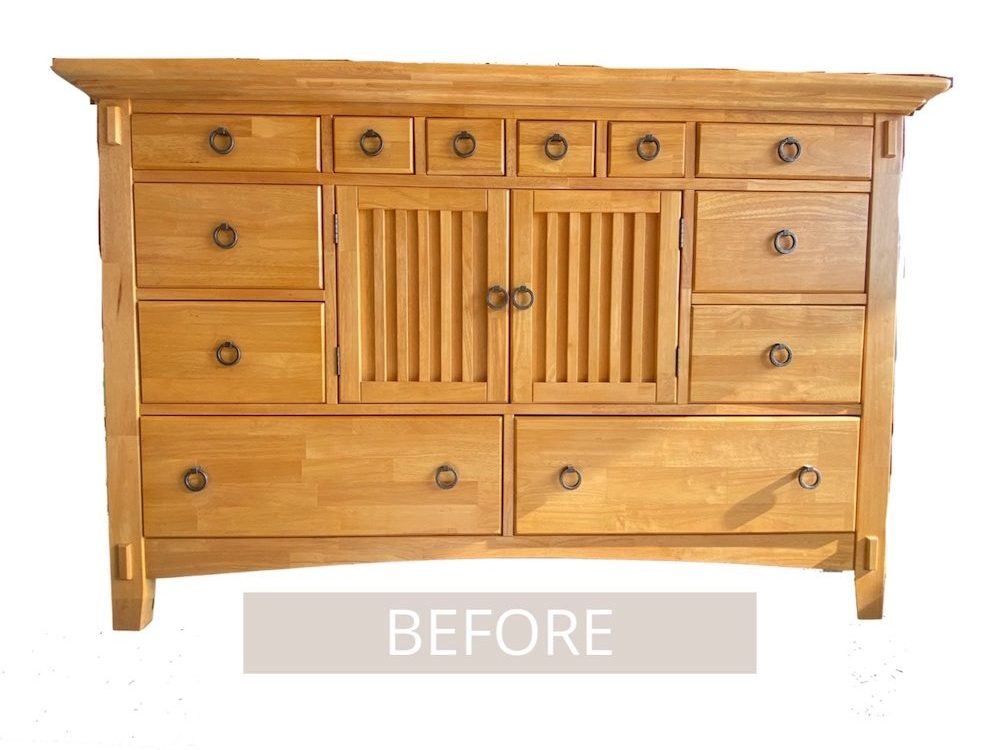
I originally was planning on getting a new, raw wood dresser with 6 drawers that I could paint, but when I found someone selling this one online for less than I was planning to spend, I couldn’t resist.
The teeny drawers seemed so perfect for the teeny baby we were about to bring into this world.
This post contains affiliate links, which means I make a small commission at no extra cost to you. See my full disclosure here.
ITEMS NEEDED TO PAINT A DRESSER
- Dresser
- Sand block
- Chalk Paint
- Paint Brush
- Wax or Polyurethane
- Rag or Old T-shirt
- Screwdriver
WAX VS POLYURETHANE
These were the two options I was looking to use to protect the dresser. Polyurethane is the more protective option, and it only needs to be applied once. I would most likely use poly for a kitchen table or desk.
Although wax is not as protective because it needs to be reapplied every so often, it won’t “yellow” the whiteness of the furniture and it is less toxic. Those 2 reasons are why I used wax for this project.
HOW TO MAKE A DRESSER EVEN MORE UNIQUE
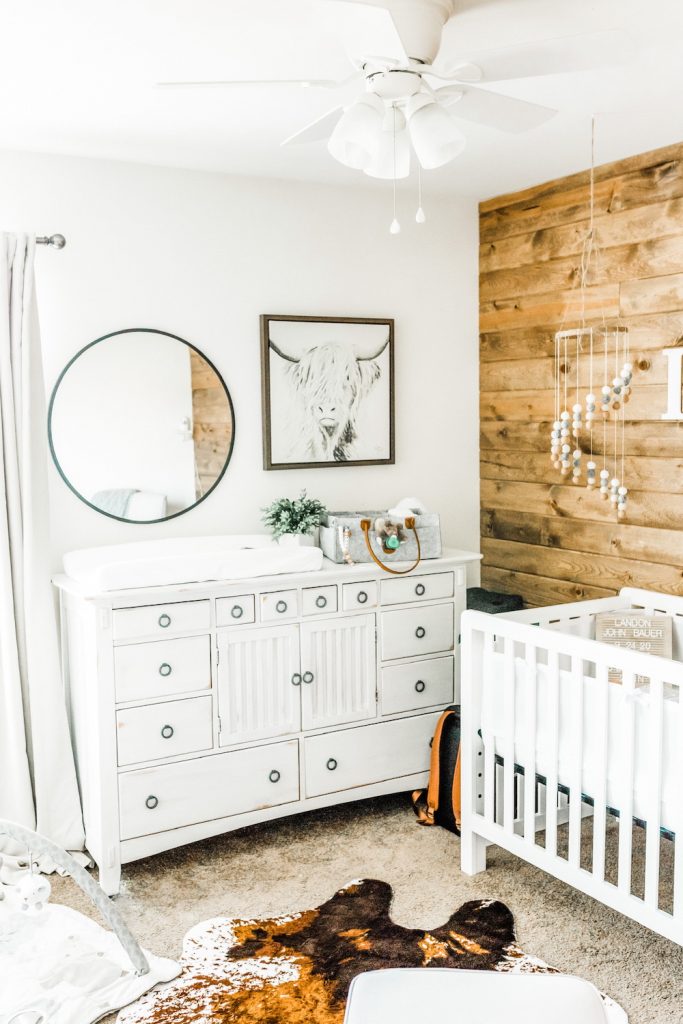
To make your dresser even more unique or custom, you can change the color of the paint – there are a lot of colors of chalk paint these days. This white color that I use is Rustolem’s Linen White.
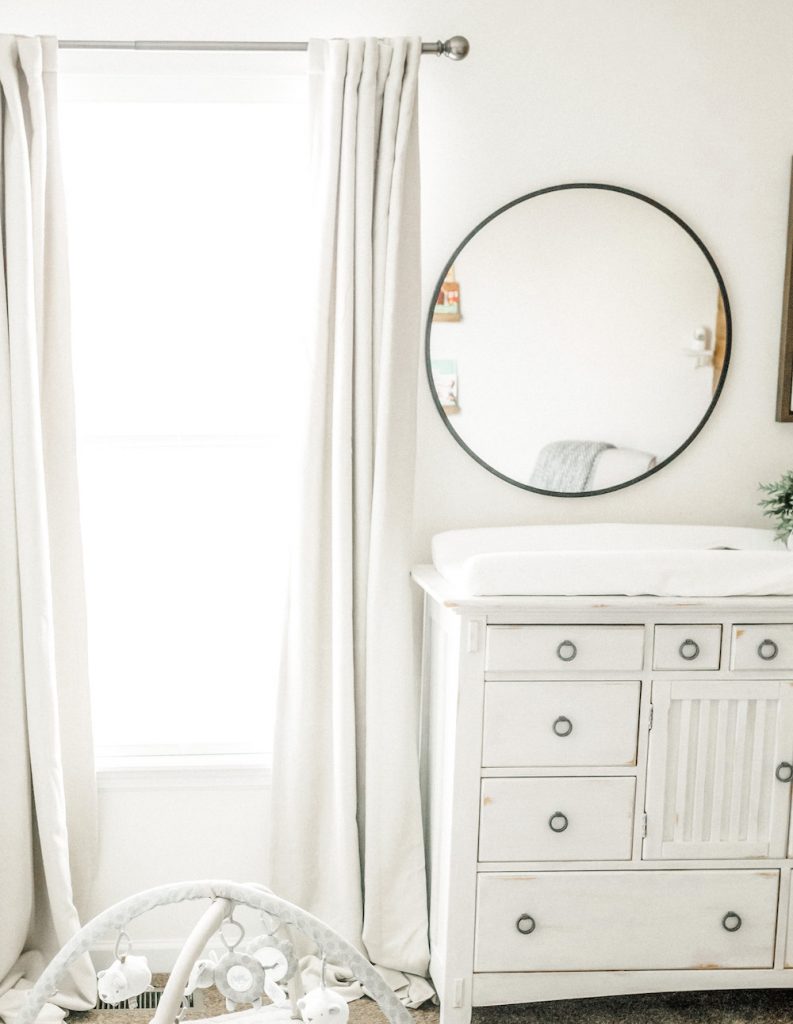
The hardware can also be changed out. When I had my vision with the original dresser I was getting, I loved the idea of leather pulls. However, when I found this dresser, I really liked the original hardware. I wasn’t sure if I wanted to spray them black, but I chose to keep them the original hammered metal, since we had grey in the room, too.
HOW TO PAINT A DRESSER WITH CHALK PAINT
To start, remove hardware with screwdriver and set aside.
For each step, pull drawers out to get the side edge of the drawer face.
Lightly sand and wipe down your dresser to make sure it is free of dirt and dust.
Grab your paint and paint brush and start painting. Make sure you are painting in the direction of the wood grain. Apply 2-3 coats depending on the coverage you want, and allow paint to dry between each coat. I did 2 coats for this project.
To distress, wet a rag and dampen areas and edges before sanding. (Dampening the area first will help the paint dust not to go everywhere.) Take a step back after sanding a few areas to see where you may need more distressing. I like to start with a corner and a few edges, and then look at where I can add from there.
Wipe down once more to ensure all loose paint is wiped off from sanding.
Apply wax with rag/old t-shirt or clean paint brush. Apply 2-3 coats to furniture. Between each coat wipe dresser with clean towel to buff out. I applied 2 coats for this project.
Let wax sit and dry completely and screw hardware back on.
PIN IT FOR LATER
CHECK OUT MORE OF CHALK PAINT PROJECTS
HOW TO PAINT A DRESSER WITH CHALK PAINT
Learn how to paint a dresser with chalk paint in a few simple steps!
Materials
- Dresser
- Chalk Paint
- Wax or Polyurethane
Tools
- Sand Block
- Screwdriver
- Paint brush
- Rag or Old T-shirt
Instructions
Remove hardware with screwdriver and set aside.
(For each step, pull drawers out to get the side edge of the drawer face.)
Lightly sand and wipe down dresser to make sure it is free of dirt and dust.
Grab your paint and paint brush and start painting making sure to brush in the direction of the wood grain. Apply 2-3 coats depending on the coverage you want, and allow paint to dry between each coat.
To distress, wet a rag and dampen areas and edges before sanding. Take a step back after sanding a few areas to see where you may need more distressing
Wipe down once more to ensure all loose paint is wiped off from sanding.
Apply wax with rag/old t-shirt or use a clean paint brush. Apply 2-3 coats to furniture. Between each coat wipe dresser with clean towel to buff out.
Let wax sit and dry completely and screw hardware back on.
Notes
Start slow with the sanding areas. You can always add more more easily than repainting.
Leave a Reply